Pages are changed using the on-page visual editor. Here’s a quick tour of how that works…
Opening the page editor
You can get to the on-page editor in 2 ways:
- by clicking “Edit Page” (or “Edit Post” if a blog post) in the top bar while on the website page.

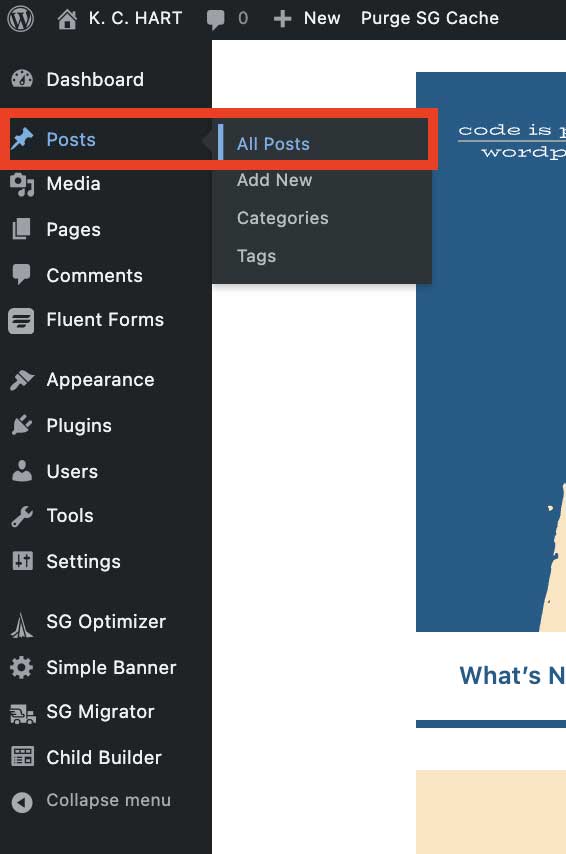
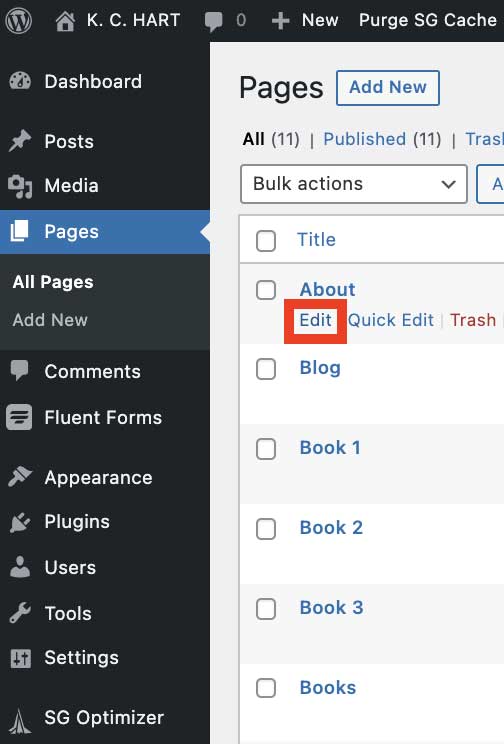
- by navigating to the page or post (if it’s a blog page entry) within the WordPress admin dashboard and clicking edit from there

3 Parts of the Page Editor
Once you’re in the page editor there are 3 sections you’ll become familiar with when you use the editor:
- Editing Toolbar
- Content Area
- Advanced Settings
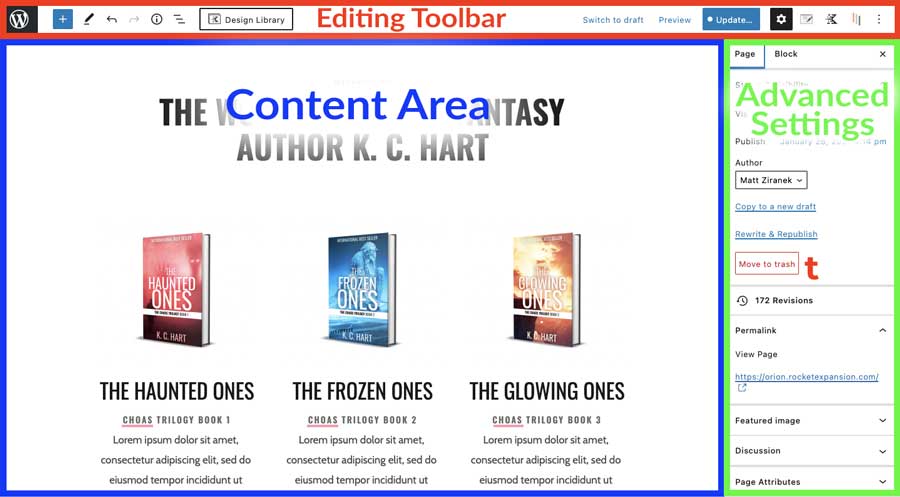
The Editing Toolbar contains buttons like
- back to WordPress admin area
- undo/redo
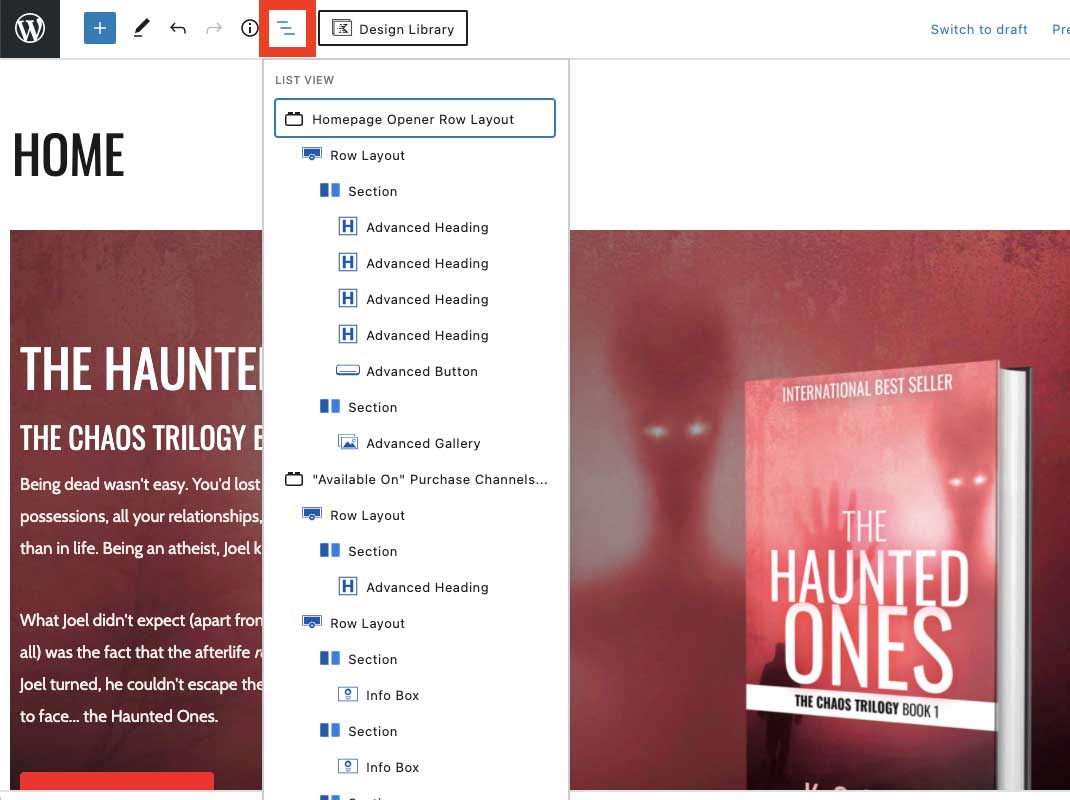
- page overview
- publish/update
- advanced settings
The Advanced Settings panel
- gives more settings options for Pages or Blocks
- will change according to the block type you have selected to customize it more fully
The Content Area
- is where you select and make the changes to the actual content on the page
- change the text
- change the images
- change the links
- etc.
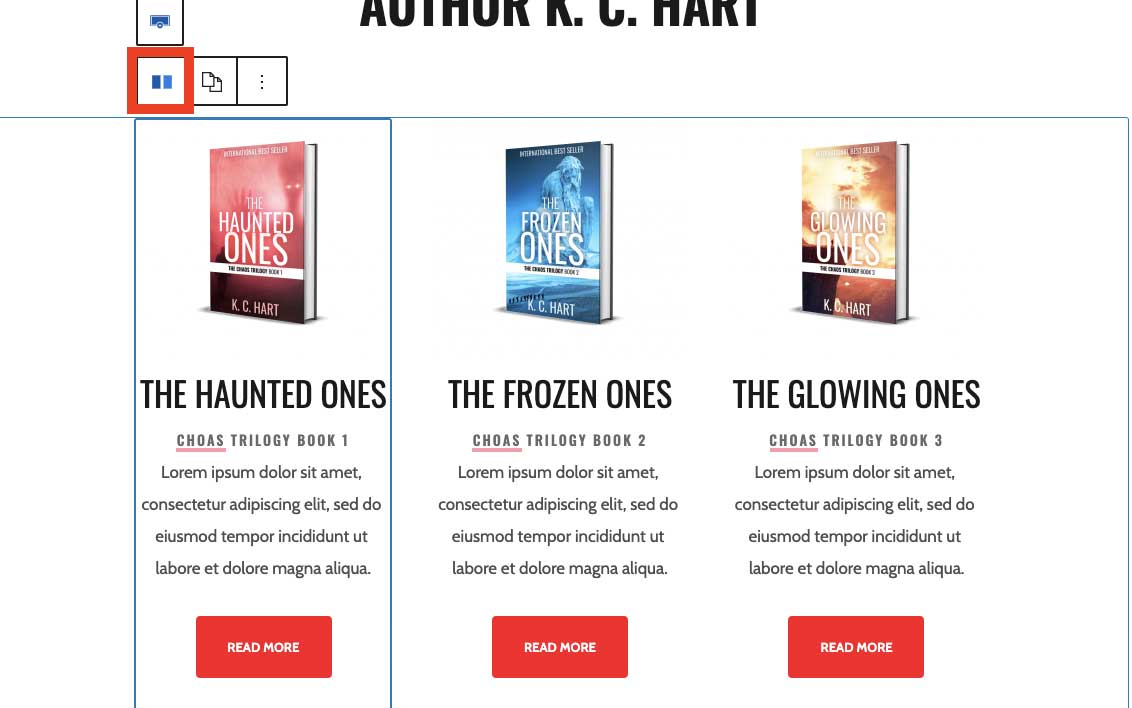
Blocks
Within the Content Area, there are different elements that the page is built with.
These elements are simply called “Blocks”
There are different kinds of Blocks for different functions. They’re usually self-explanatory by the way they are named:
- image block
- heading block
- paragraph block
- etc.
Some blocks are used throughout the page content to give it structure can have other blocks inside them:
- the row block
- the columns block
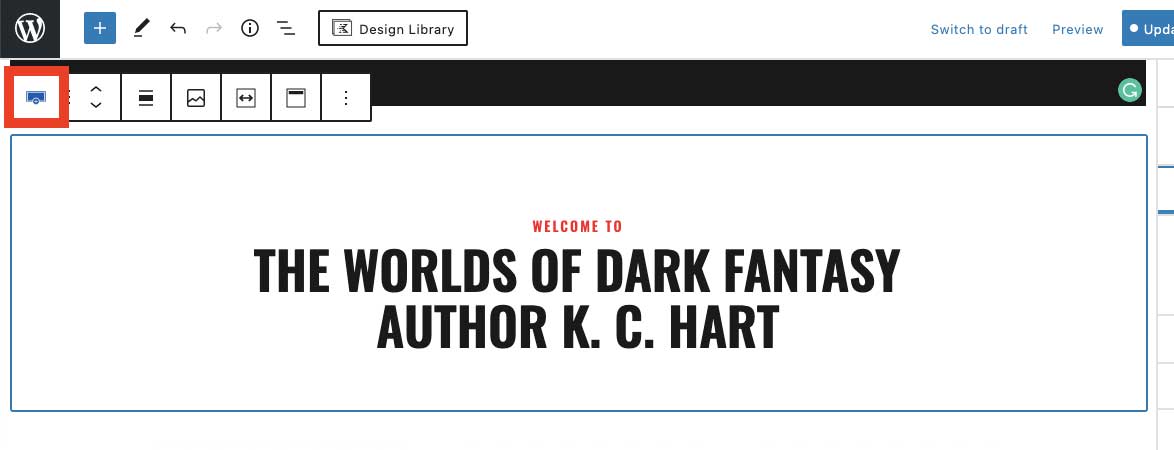
Using the Overview button in the Editing Toolbar (at the top) will open a list of the blocks on the page or the row you are in (if you have a row or block selected.)
When changing your content you’ll be simply select the block you want to change in the content area.
Then either changing the text directly in the content area by typing or copy-pasting or using the Advanced settings to change something about the block you’re editing.