To get you started with building up your email list, activate your MailChimp for WordPress (WP) Plugin.
*A plugin is a piece of software containing a group of functions that can be added to a WordPress website. They can extend functionality or add new features to your WordPress websites.
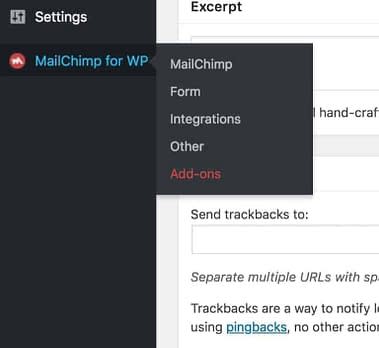
Once your MailChimp has been activated, go to MailChimp for WP and get your API key.
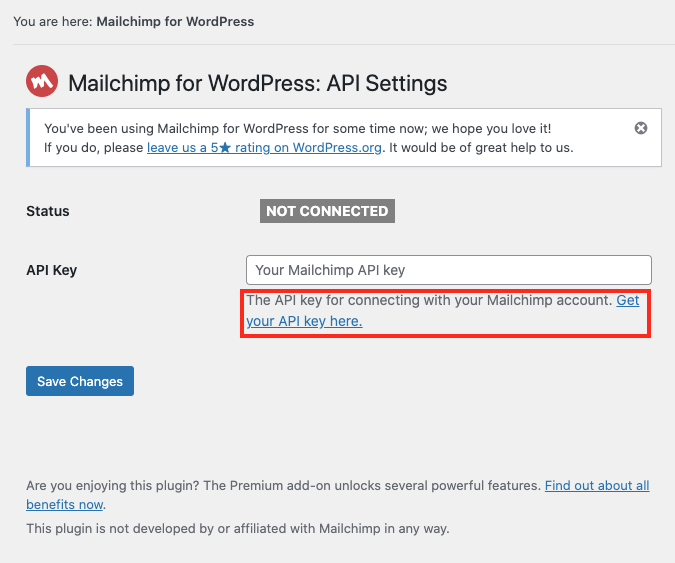
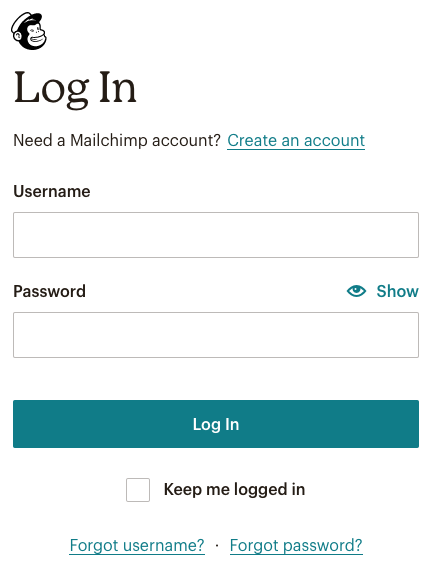
Log into your MailChimp, if you don’t have an account already, create a MailChimp account.
Once you are logged into MailChimp, go to your account area, and go to extras and then API keys.
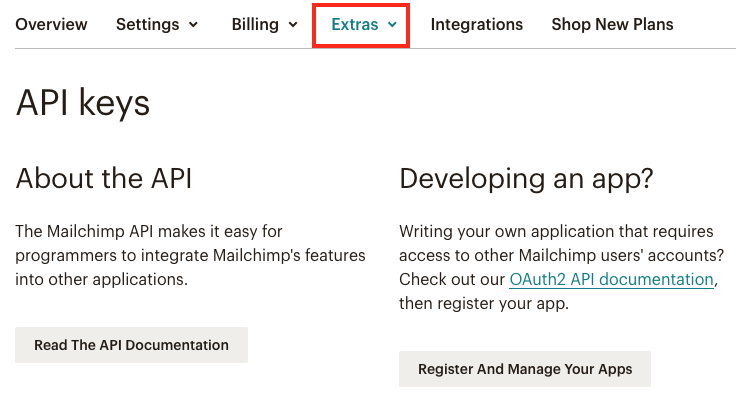
Create an API key in MailChimp, copy it.

Paste the API key into Mailchimp for WP.
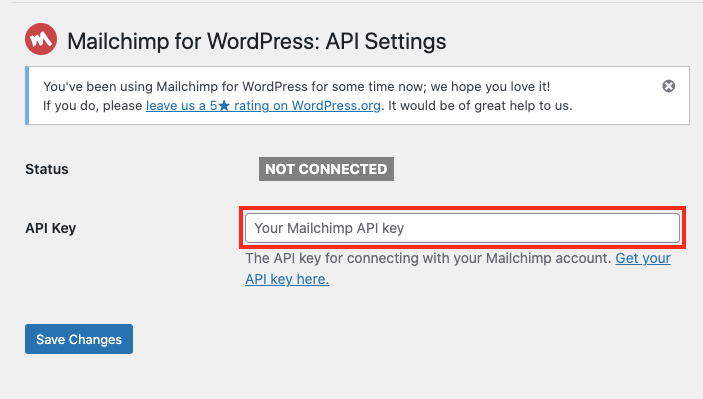
- You should see a notification indicating that your API has been connected to MailChimp.
Return to MailChimp’s website and create a new audience.
Note if you’re already a MailChimp user with an audience created you can skip this step.
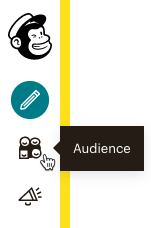

- Click the Audience icon (This is your emailing list).
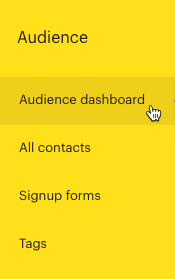
- Click Audience dashboard.
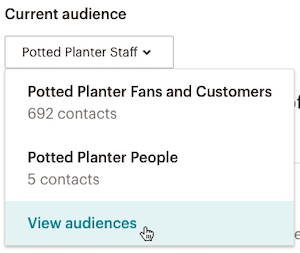
- Click the Current audience drop-down and choose View audiences. If you have only one audience, click the Manage Audience drop-down and choose View audiences.
- Click Create A New Audience / Add to Existing Audience.
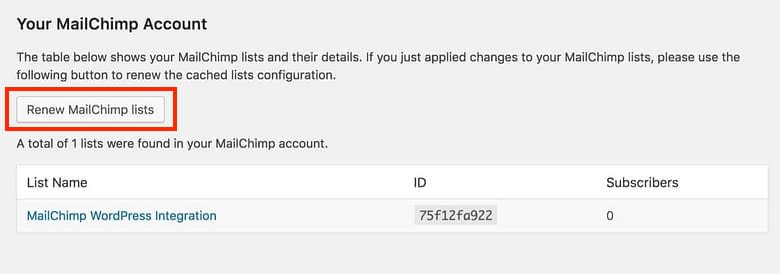
Save the audience and return to MailChimp for WP. On your WP Dashboard to confirm that the audience list has been integrated (click Renew MailChimp lists if the new list does not appear).
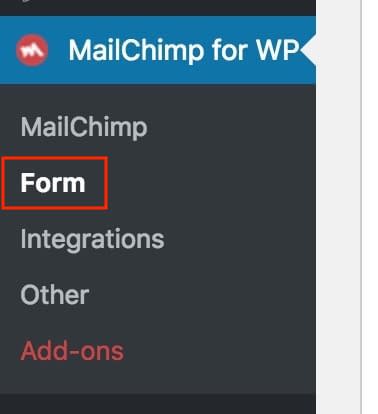
Under MailChimp for WordPress, go to Form and create a new form. Be sure to give it a title and assign a list from List fields.
You can also edit your default messages and adjust your MailChimp specific settings.
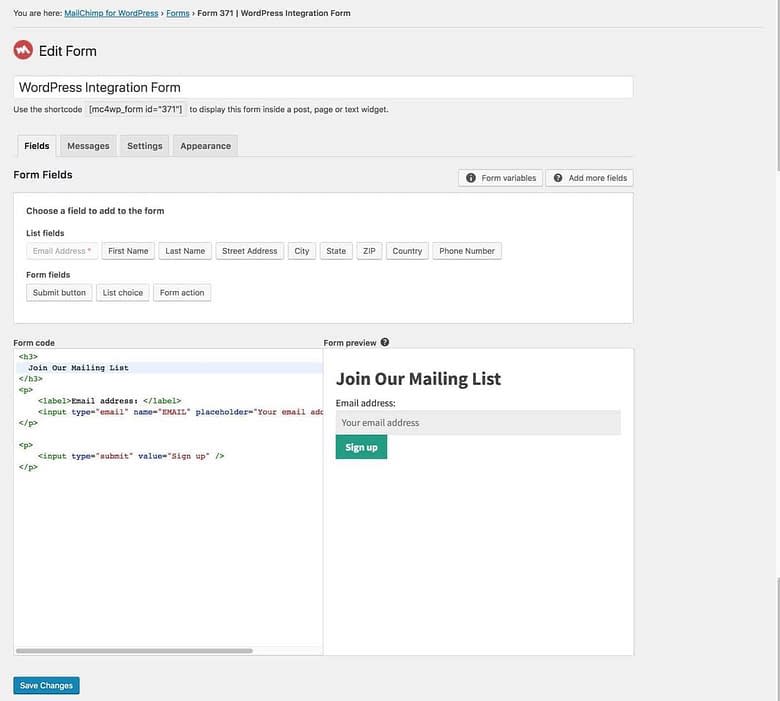
Once your form is complete, remember to save your settings.
You are ready to go!
—> Next steps on how to create your Welcome / Free Ebook Download email.