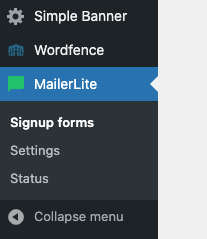
To get you started with building up your email list, download MailerLite for WordPress (WP).
From your WP Dashboard, go to Plugins and add a new Plugin.
*Plugin definition – A plugin is a piece of software containing a group of functions that can be added to a WordPress website. They can extend functionality or add new features to your WordPress websites.

- Search for the MailerLite Sign Up Forms plugin.
- Install and activate the Plugin

Once your MailerLite Plugin has been activated, get your API key.

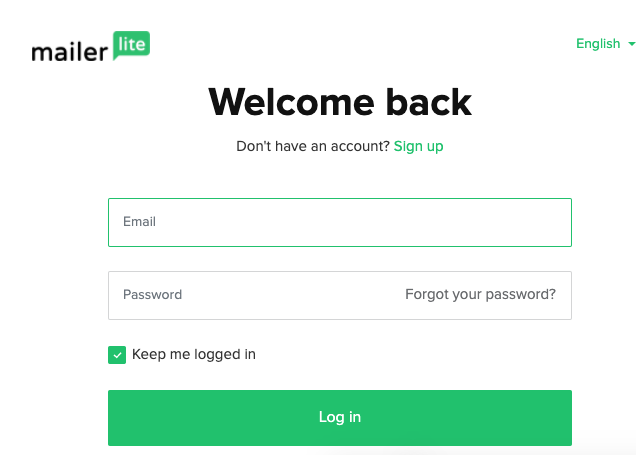
Log into your MailerLite, if you don’t have an account already, create a MailerLite account.
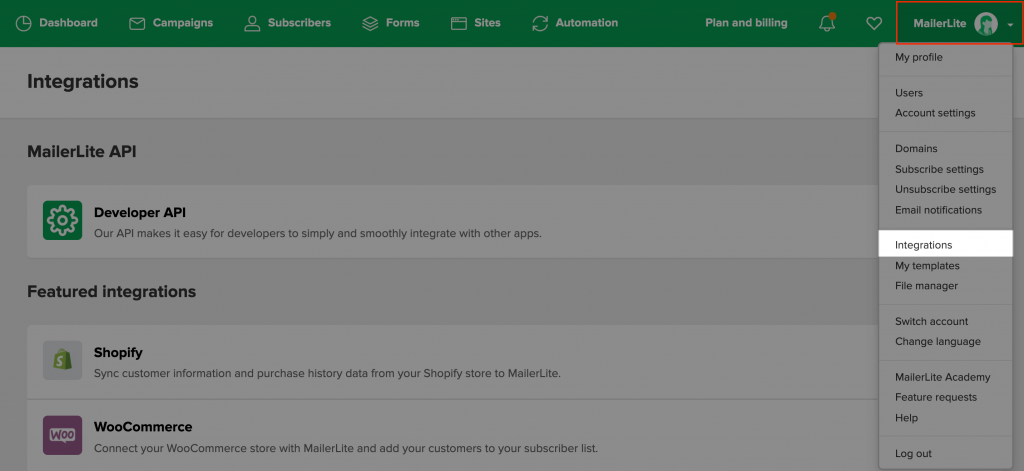
Once you are logged into MailerLite, Use the right-hand dropdown menu to navigate to the Integrations page.
Click the Use button next to Developer API.

Copy the API key and go back to MailerLite for WordPress.

Paste your MailerLite API key in your WordPress Plugin settings and save the key.

Once the API key is saved, you can start making your signup form.
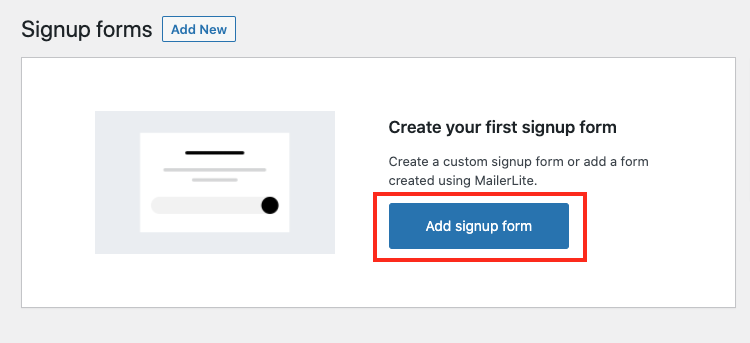
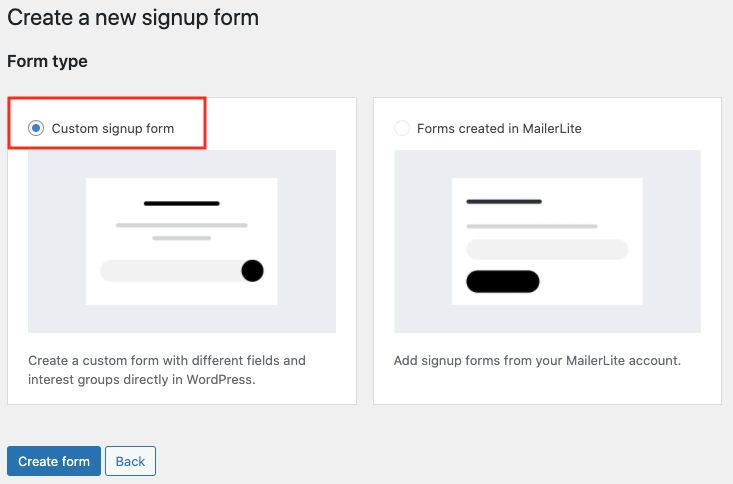
Select the Custom signup form and click create form.
Name your custom signup form.
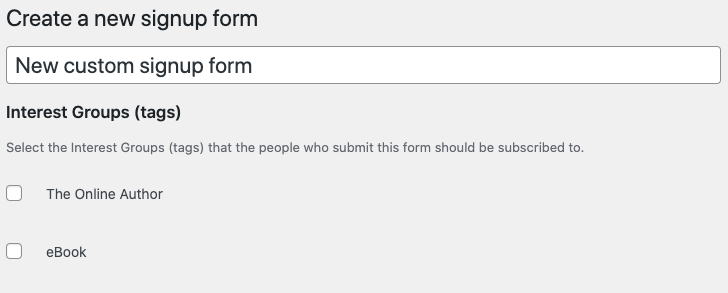
Edit the custom signup form name and adjust your MailerLite specific settings if needed.
* Leave all fields empty except the “Success message” and “Button title”.
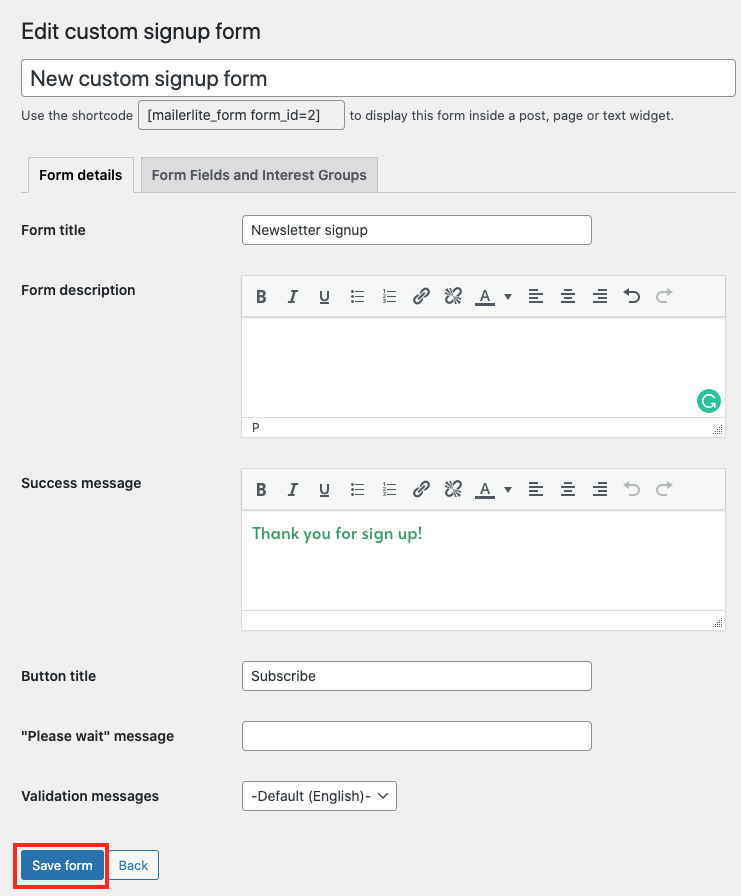
- You can change the Button title to “START READING NOW”/”SIGN UP NOW” to make the call-to-action more clear.
Once the Sign-up form is set up and saved. Go back to the website to edit the home page where the sign-up block appears.
- Click edit page and go the the sign-up block at the bottom of the page.
- Click the “+”sign to add block.
- Search for the “form” block then click on it.
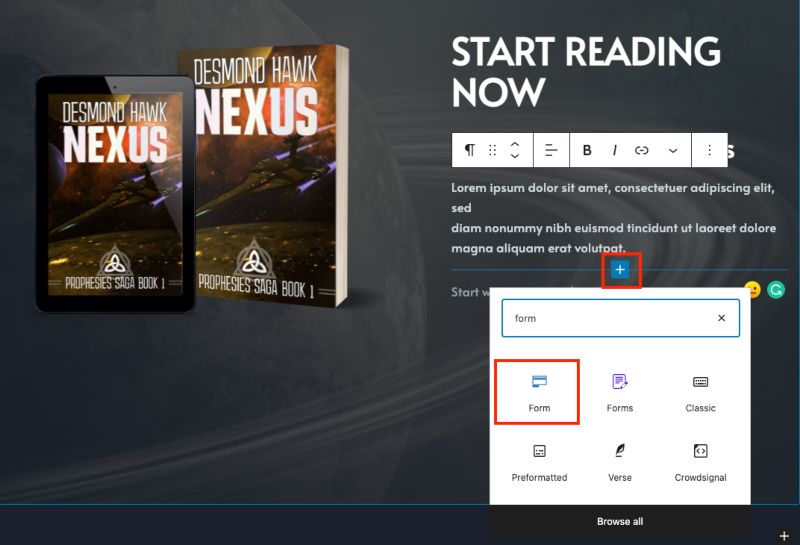
After clicking on the “Form” block, the form fields will appear as seen below.
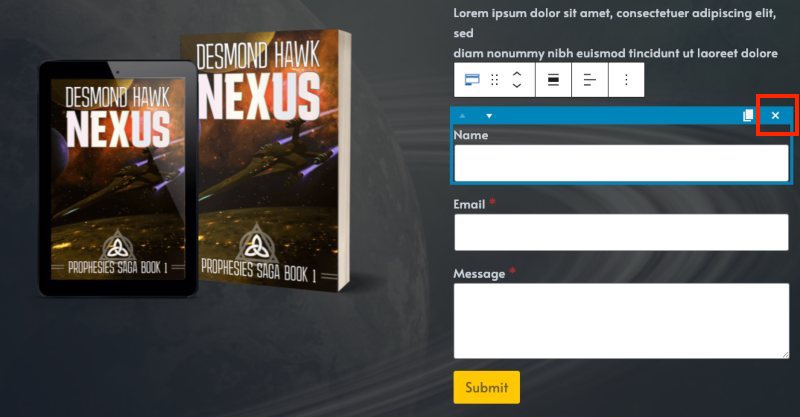
- Click on the name field and click the “x”to remove.
- Repeat step 1 on the message field. You only need the email address for the mailing list.
Click on the “Submit” button to rename it to “START READING NOW” or “SIGN UP NOW”.

Customize the Email Field Settings.
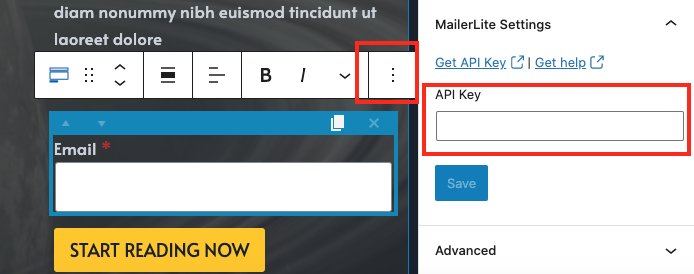
- Click on the email field block.
- Click on the 3 dots to Show More Settings.
- Go to “MailerLite Settings” and insert your API key, then save.
Still in the Email Field Settings, go to “Actions After Submit”.
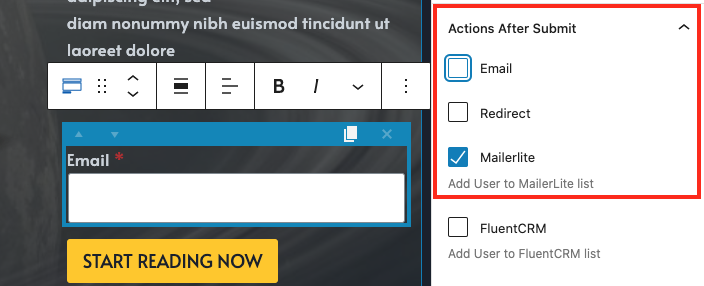
- Uncheck Email and check MailerLite. (✓)
Still in the Email Field Settings, go to “Message Settings”.
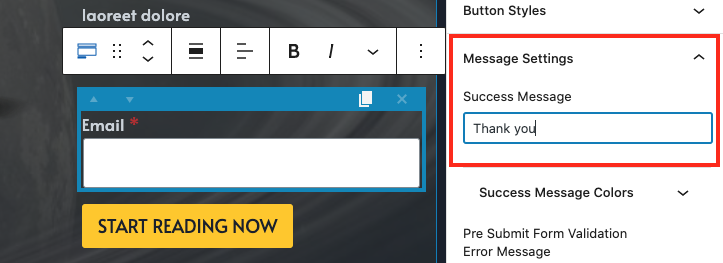
- Edit your Success Message. It will appear after the reader signs up to your newsletter.
Once this is finished, remember to update the page to save the settings.